One of the first things I did when we moved to Bird Cottage was to plan a vegetable garden. I love having, at the very least, a selection of herbs and maybe a few mini-tomatoes for salads. Growing vegetable is a very rewarding experience and there is a lot to learn, especially growing them for the first time in a cold climate!
I'm also a big believer in recycling as much as you can so I was really pleased to find out that the timbers of our old carport were solid hardwood. As this was being torn down for a new double garage and workroom I was able to salvage the timbers and began planning a design for my veggie patch. I have always loved the French-style 'parterre' garden with it's axis, symmetry and proportion. This was the starting point for my garden. I worked out, with some planning, the exact size I could make each garden bed using only the reclaimed hardwood from the carport, the roof rafters and posts you can see below; pre and mid-demolition.

These incredibly strong and heavy timbers would have cost a fortune to buy so was really lucky to have these at my disposal. There were set aside till the construction of the new garage was almost completed before i could get to work.

I marked out the garden beds, there would be 4 in total with central square bed in which i would plant a small 'Ballerina' apple tree as a focal point.


The 3 pictures above show the stages from planing to final concept. Four garden beds in a formal style with a small square as the central point. The four posts would be strung with galvanised metal cables so that a net could be thrown over everything to protect the seedlings and vegetable from birds and possums. (This was the theory anyway, as you will see that idea lasted only one summer and a complete rebuild began).

In building the pergola we learned how to construct the pitched roof frames and this was the start of our design for the garden. We wanted to create more headroom and extra height in the middle to allow for the growth of the apple tree which would grow up to 3m tall but have a 'columnar' form.


A timber framework was added to the original corner posts to tie the structure together, a gate was created as an entrance and the roof structure was added. I love using satin black paint in the garden as it creates strong visual lines, yet allows things to recede into the landscape. I remember one of my TAFE teachers saying "you can use pots of any colour in your designs, as long as they are black!".....a bit like Henry Ford and his cars!
I was limited in space with this design and had to work within the footprint of the exisiting 4 garden beds. I didn't have room to put in 4 more posts outside and around the gardens to create walkways for access all around so I needed to come up with an idea to allow good, easy access. This was achieved by creating flip-up walls all around the gardens. All of the 8 side panels are hinged at the top and can flip up easily allowing me to get to the outer edges of the garden beds. I just lift up the wall and prop it up with a stick while I'm weeding or planting. It also allows for good access when the beds need to be topped up with compost or mulch.


The entire structure has been clad in galvanised bird aviary wire with a 1cm x 1cm gauge. I have added an extensive watering system which runs off the tank water attached to the new garage and is on a manual timer, just flicked on when needed. The whole garden is now bird and possum proof and I'm hoping the wires are small enough to even keep out the dreaded white cabbage moth!

On 2 fixed panels we have used the redundant containers from our Vertical Garden to create a hanging 'strawberry patch'! Unfortunately the vertical garden did not like the climate here as it was either too cold in the winter and the heat of the combustion fire dried out the pots. With a drip water system installed above hopefully we will get a good crop of strawberries in the summer.

Some hanging baskets with flowers to attract the bees and a few scattered pots of herbs, strategically placed to catch the dripping water from the pots above which have micro-sprays watering them from the watering system, the garden is now complete.

I've planted up seedlings of beetroot, shallots, 2 cauliflowers, fennel and a few different lettuces. 3 metal spiral supports have seedlings of snow peas planted under them. I've sprinkled in some wild rocket seeds and 8 zucchini seeds. They will start to sprout in the next week or so and hopefully we are over the frosts for this year!!!! I brought some tomato seedlings and have potted them up and they will be ready to be planted in the garden in early September but will stay indoors for now. My next job is to construct a cold-frame out of some old timber and glass windows to protect seeds and seedlings from frosts.....but that can wait.
Not only is this a more permanent solution than the netting, but the whole veggie patch is now a focal point and adds another dimension to our garden.
Of course, a little country touch with a reclaimed weathervane topped off with a metal rooster garden sculpture from Bunnings is this finishing detail!!!

I'm also a big believer in recycling as much as you can so I was really pleased to find out that the timbers of our old carport were solid hardwood. As this was being torn down for a new double garage and workroom I was able to salvage the timbers and began planning a design for my veggie patch. I have always loved the French-style 'parterre' garden with it's axis, symmetry and proportion. This was the starting point for my garden. I worked out, with some planning, the exact size I could make each garden bed using only the reclaimed hardwood from the carport, the roof rafters and posts you can see below; pre and mid-demolition.


These incredibly strong and heavy timbers would have cost a fortune to buy so was really lucky to have these at my disposal. There were set aside till the construction of the new garage was almost completed before i could get to work.

I marked out the garden beds, there would be 4 in total with central square bed in which i would plant a small 'Ballerina' apple tree as a focal point.


The 3 pictures above show the stages from planing to final concept. Four garden beds in a formal style with a small square as the central point. The four posts would be strung with galvanised metal cables so that a net could be thrown over everything to protect the seedlings and vegetable from birds and possums. (This was the theory anyway, as you will see that idea lasted only one summer and a complete rebuild began).


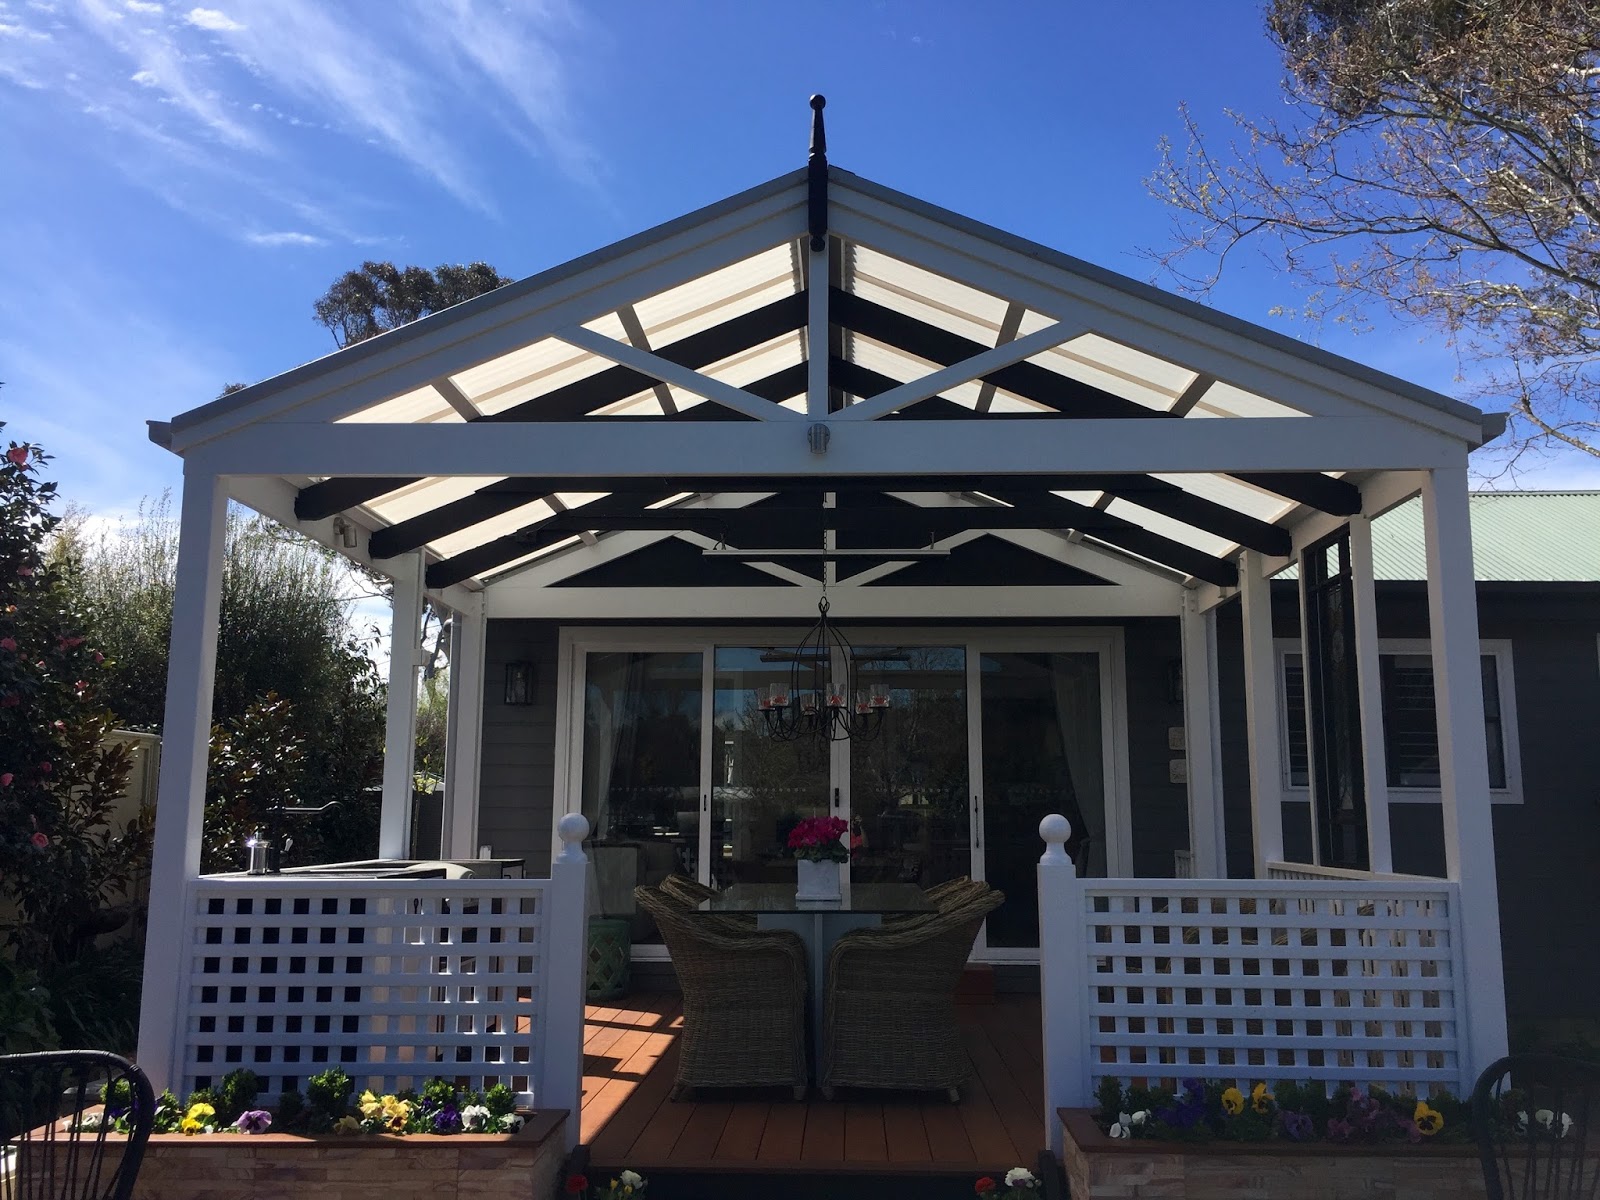
So I planted up the first seeds and seedlings and threw a net over the whole structure and it did last quite well for that first season. Unfortunately the netting was messy and tore easily if you accidentally got caught in it. I needed to come up with a solution that was more permanent but also looked good. After all, any garden, even a productive veggie garden, should not only be practical but pleasing to the eye. We decided to borrow the design idea from the pergola that we built the previous spring. The pergola pictured below, came in kit form from a company called Softwoods in South Australia
www.softwoods.com.au .I couldn't find a design and style I liked nearby and this fit all out requirements. Lucky we are pretty handy with a drill and screwdriver and with the comprehensive instructions we were able to construct the pergola without too much trouble.
In building the pergola we learned how to construct the pitched roof frames and this was the start of our design for the garden. We wanted to create more headroom and extra height in the middle to allow for the growth of the apple tree which would grow up to 3m tall but have a 'columnar' form.


A timber framework was added to the original corner posts to tie the structure together, a gate was created as an entrance and the roof structure was added. I love using satin black paint in the garden as it creates strong visual lines, yet allows things to recede into the landscape. I remember one of my TAFE teachers saying "you can use pots of any colour in your designs, as long as they are black!".....a bit like Henry Ford and his cars!
I was limited in space with this design and had to work within the footprint of the exisiting 4 garden beds. I didn't have room to put in 4 more posts outside and around the gardens to create walkways for access all around so I needed to come up with an idea to allow good, easy access. This was achieved by creating flip-up walls all around the gardens. All of the 8 side panels are hinged at the top and can flip up easily allowing me to get to the outer edges of the garden beds. I just lift up the wall and prop it up with a stick while I'm weeding or planting. It also allows for good access when the beds need to be topped up with compost or mulch.


The entire structure has been clad in galvanised bird aviary wire with a 1cm x 1cm gauge. I have added an extensive watering system which runs off the tank water attached to the new garage and is on a manual timer, just flicked on when needed. The whole garden is now bird and possum proof and I'm hoping the wires are small enough to even keep out the dreaded white cabbage moth!

On 2 fixed panels we have used the redundant containers from our Vertical Garden to create a hanging 'strawberry patch'! Unfortunately the vertical garden did not like the climate here as it was either too cold in the winter and the heat of the combustion fire dried out the pots. With a drip water system installed above hopefully we will get a good crop of strawberries in the summer.

Some hanging baskets with flowers to attract the bees and a few scattered pots of herbs, strategically placed to catch the dripping water from the pots above which have micro-sprays watering them from the watering system, the garden is now complete.

I've planted up seedlings of beetroot, shallots, 2 cauliflowers, fennel and a few different lettuces. 3 metal spiral supports have seedlings of snow peas planted under them. I've sprinkled in some wild rocket seeds and 8 zucchini seeds. They will start to sprout in the next week or so and hopefully we are over the frosts for this year!!!! I brought some tomato seedlings and have potted them up and they will be ready to be planted in the garden in early September but will stay indoors for now. My next job is to construct a cold-frame out of some old timber and glass windows to protect seeds and seedlings from frosts.....but that can wait.
Not only is this a more permanent solution than the netting, but the whole veggie patch is now a focal point and adds another dimension to our garden.
Of course, a little country touch with a reclaimed weathervane topped off with a metal rooster garden sculpture from Bunnings is this finishing detail!!!
